
Making New Curtains For Our Living Room
Back in January, I wrote a post on plans that I had for the house and garden this year. One of the things that I really wanted to get on with was making new curtains for our living room. We have two windows in our living room, each on opposite sides of the room so we get lovely light into the room whatever the time of day. Both of the windows are unusual sizes so if I bought ready-made curtains I would need to have them much longer than I needed and turn them up. I also couldn’t find any that I really liked so I had already decided that I wanted to make my own. I spent a long time looking for a fabric that would fit in with my planned colour scheme and finally chose Heritage Curtain Fabric in Midnight Blue from Terrys Fabrics.
The front window in our living room is a period window and can be a little chilly in the winter. With this in mind, I wanted to double line the curtains to make them as thick and as thermally insulating as possible. So I ordered 5 metres of curtain fabric and 10 metres of quality lining and set about creating our new curtains.

I measured the drop and calculated the width with an additional two-thirds allowed for gathering at the end. I cut then cut the fabric and the lining materials.

Once all of the panels had been cut, I pressed the fabrics and ironed my hems in place to make it easier when I dropped onto the sewing machine. I allowed a 30mm return on each side of the curtain so that you cannot see any lining material from the front when the curtains are pulled open. I also ironed a 10 mm seam allowance to the top of the curtain and a 100 mm seam on the bottom.
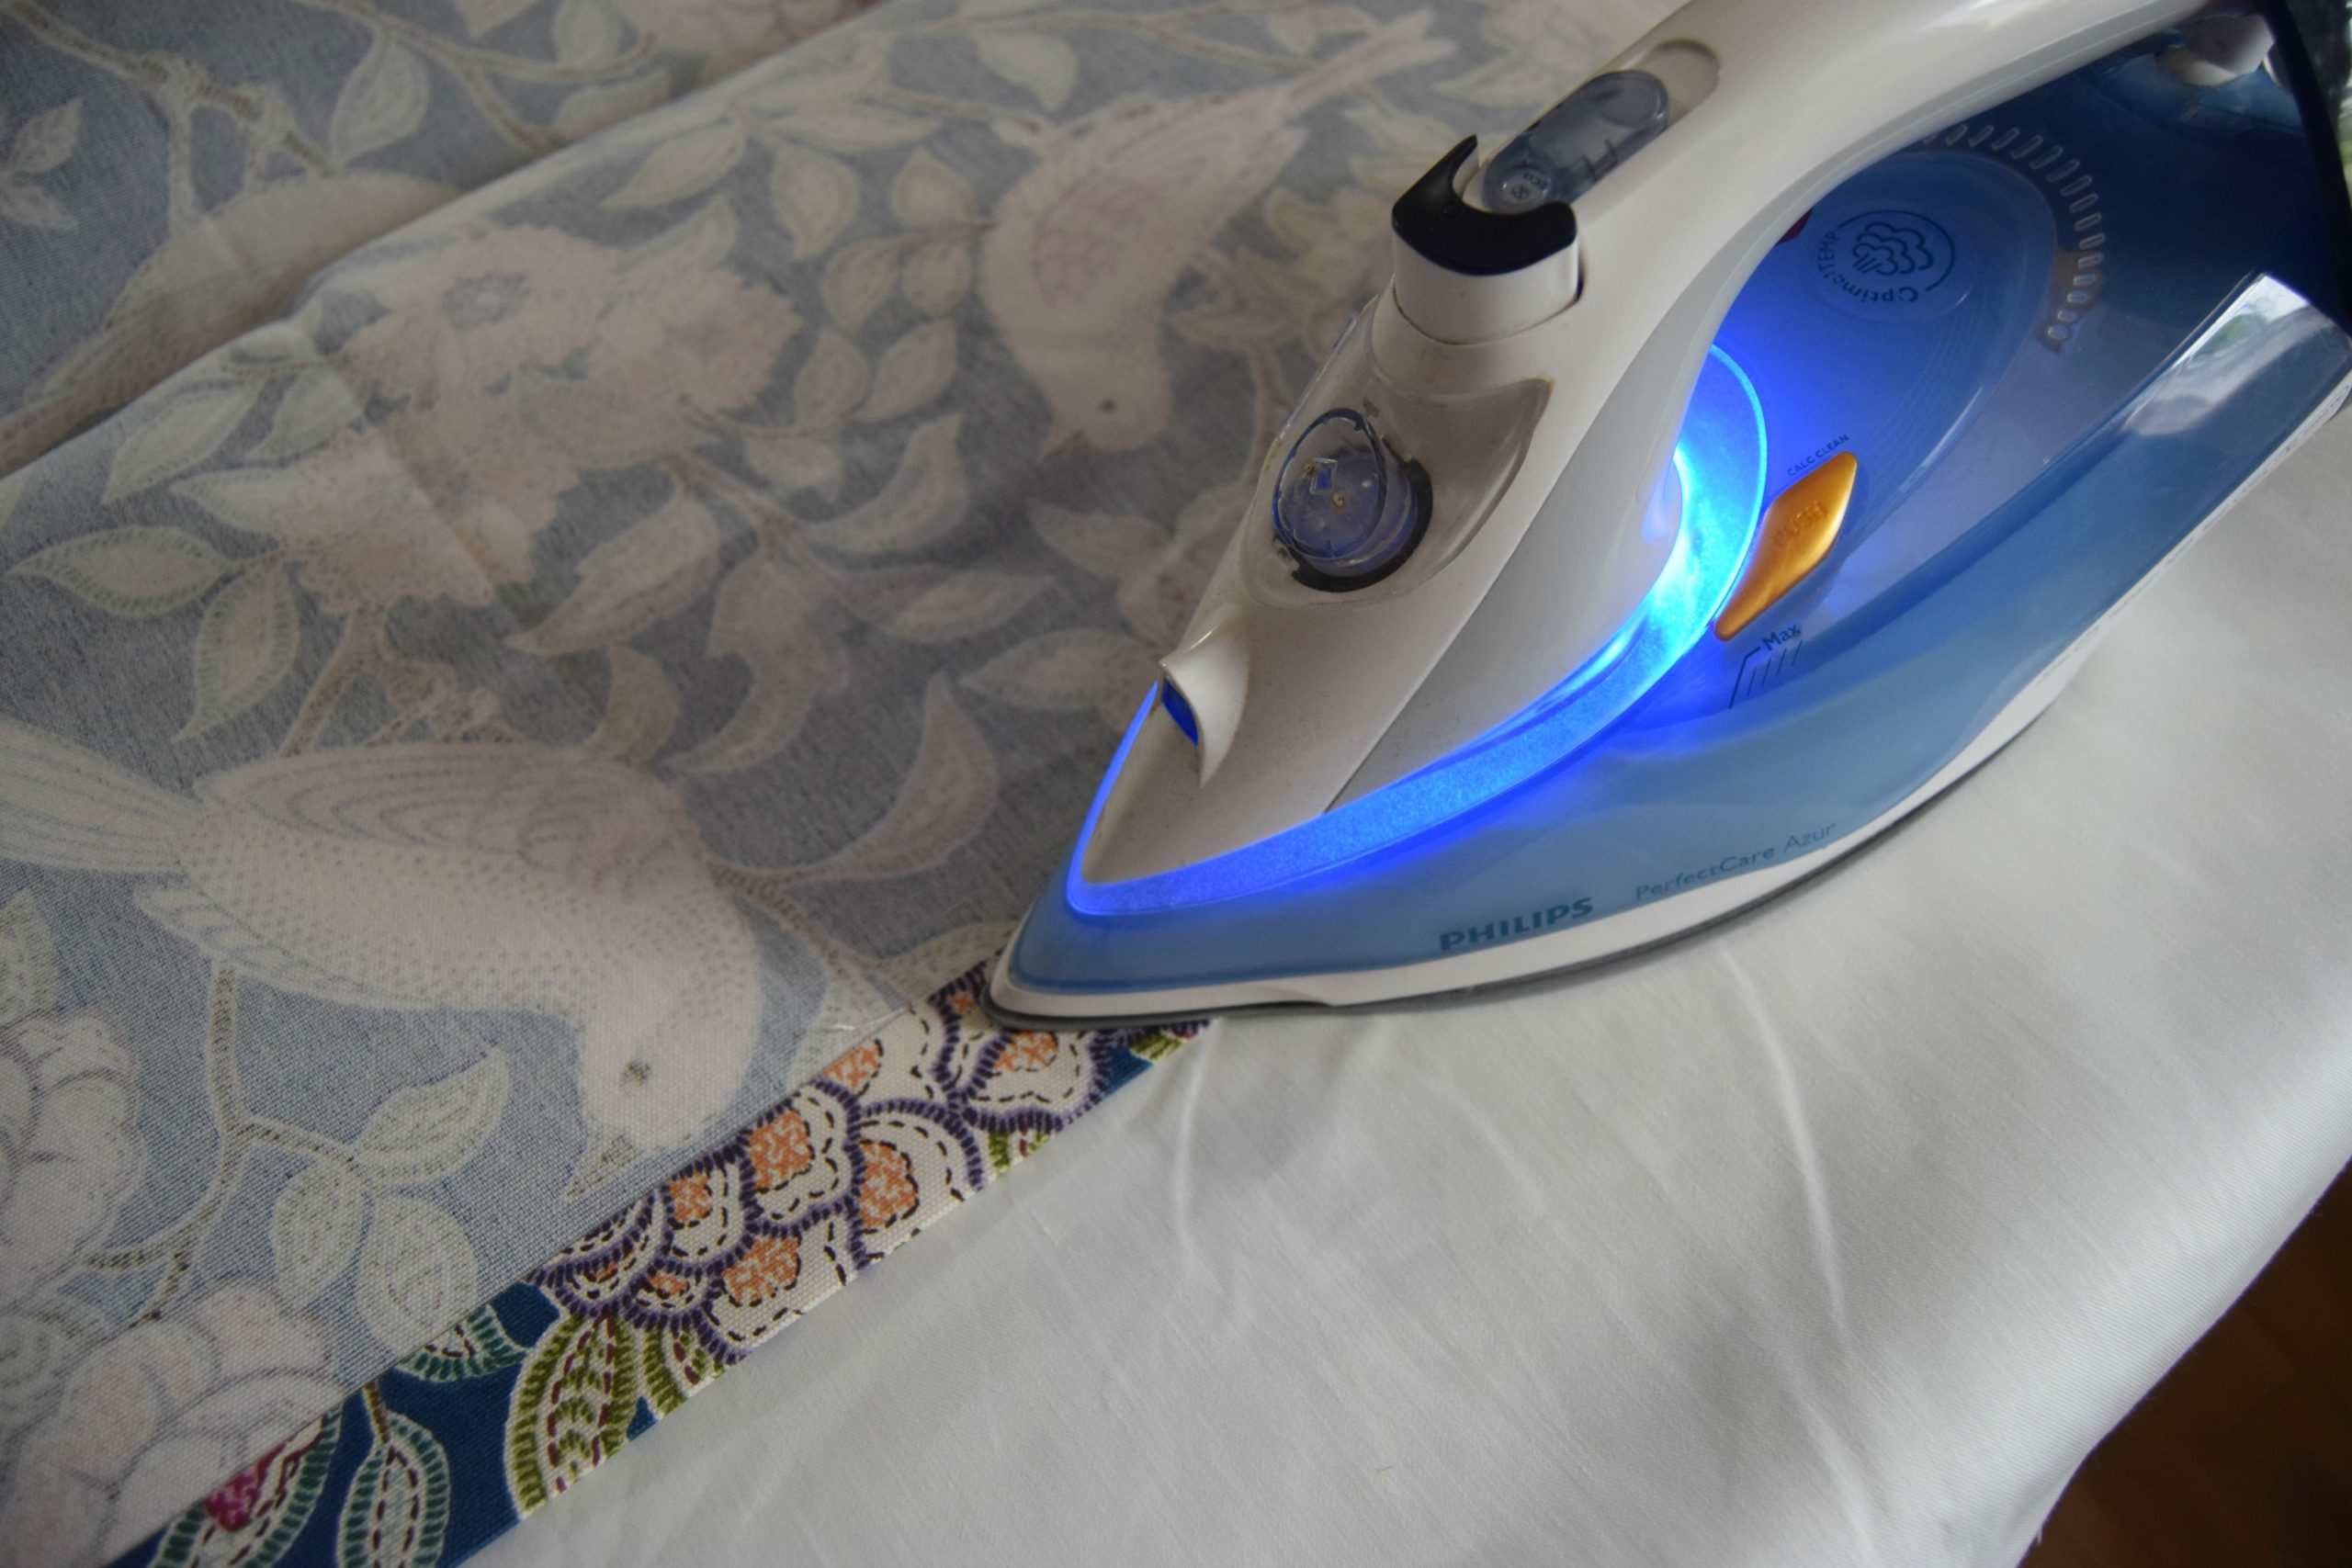
Once I had sewn the hems down each side of the curtains I turned the curtain panel the right out and pressed them to get all of the creases out. I then cut the curtain tape for the header allowing 75 mm either side. This 3-inch header tape has a tracer line to make it easier to follow with the sewing machine. I know it is not difficult to follow without it, but on light coloured fabrics, it made it so much easier to see and I would definitely use it again. I sewed across the top of the tape, tied off the cotton and then returned across the bottom of the header. When the tape had been sewn on, I took the three tensioning cords from each end and tied each end together in a knot. This makes it a little easier when you come to hang the curtains as you just have to pull the knot on one end to gather the curtains.

Finally, I just had to secure the bottom of the curtains. I do this by hand using a slip stitch every inch or so. I gave myself a 100 mm allowance at the bottom of the curtain with both the face fabric and the linings. By securing by hand I can pick the stitch into the return material so that it is invisible from the front. The biggest reason for all of this, however, is to allow for shrinkage in the washing machine. If the curtains ever shrink over time, I can undo the slip stitching and pull down some of the extra fabric.
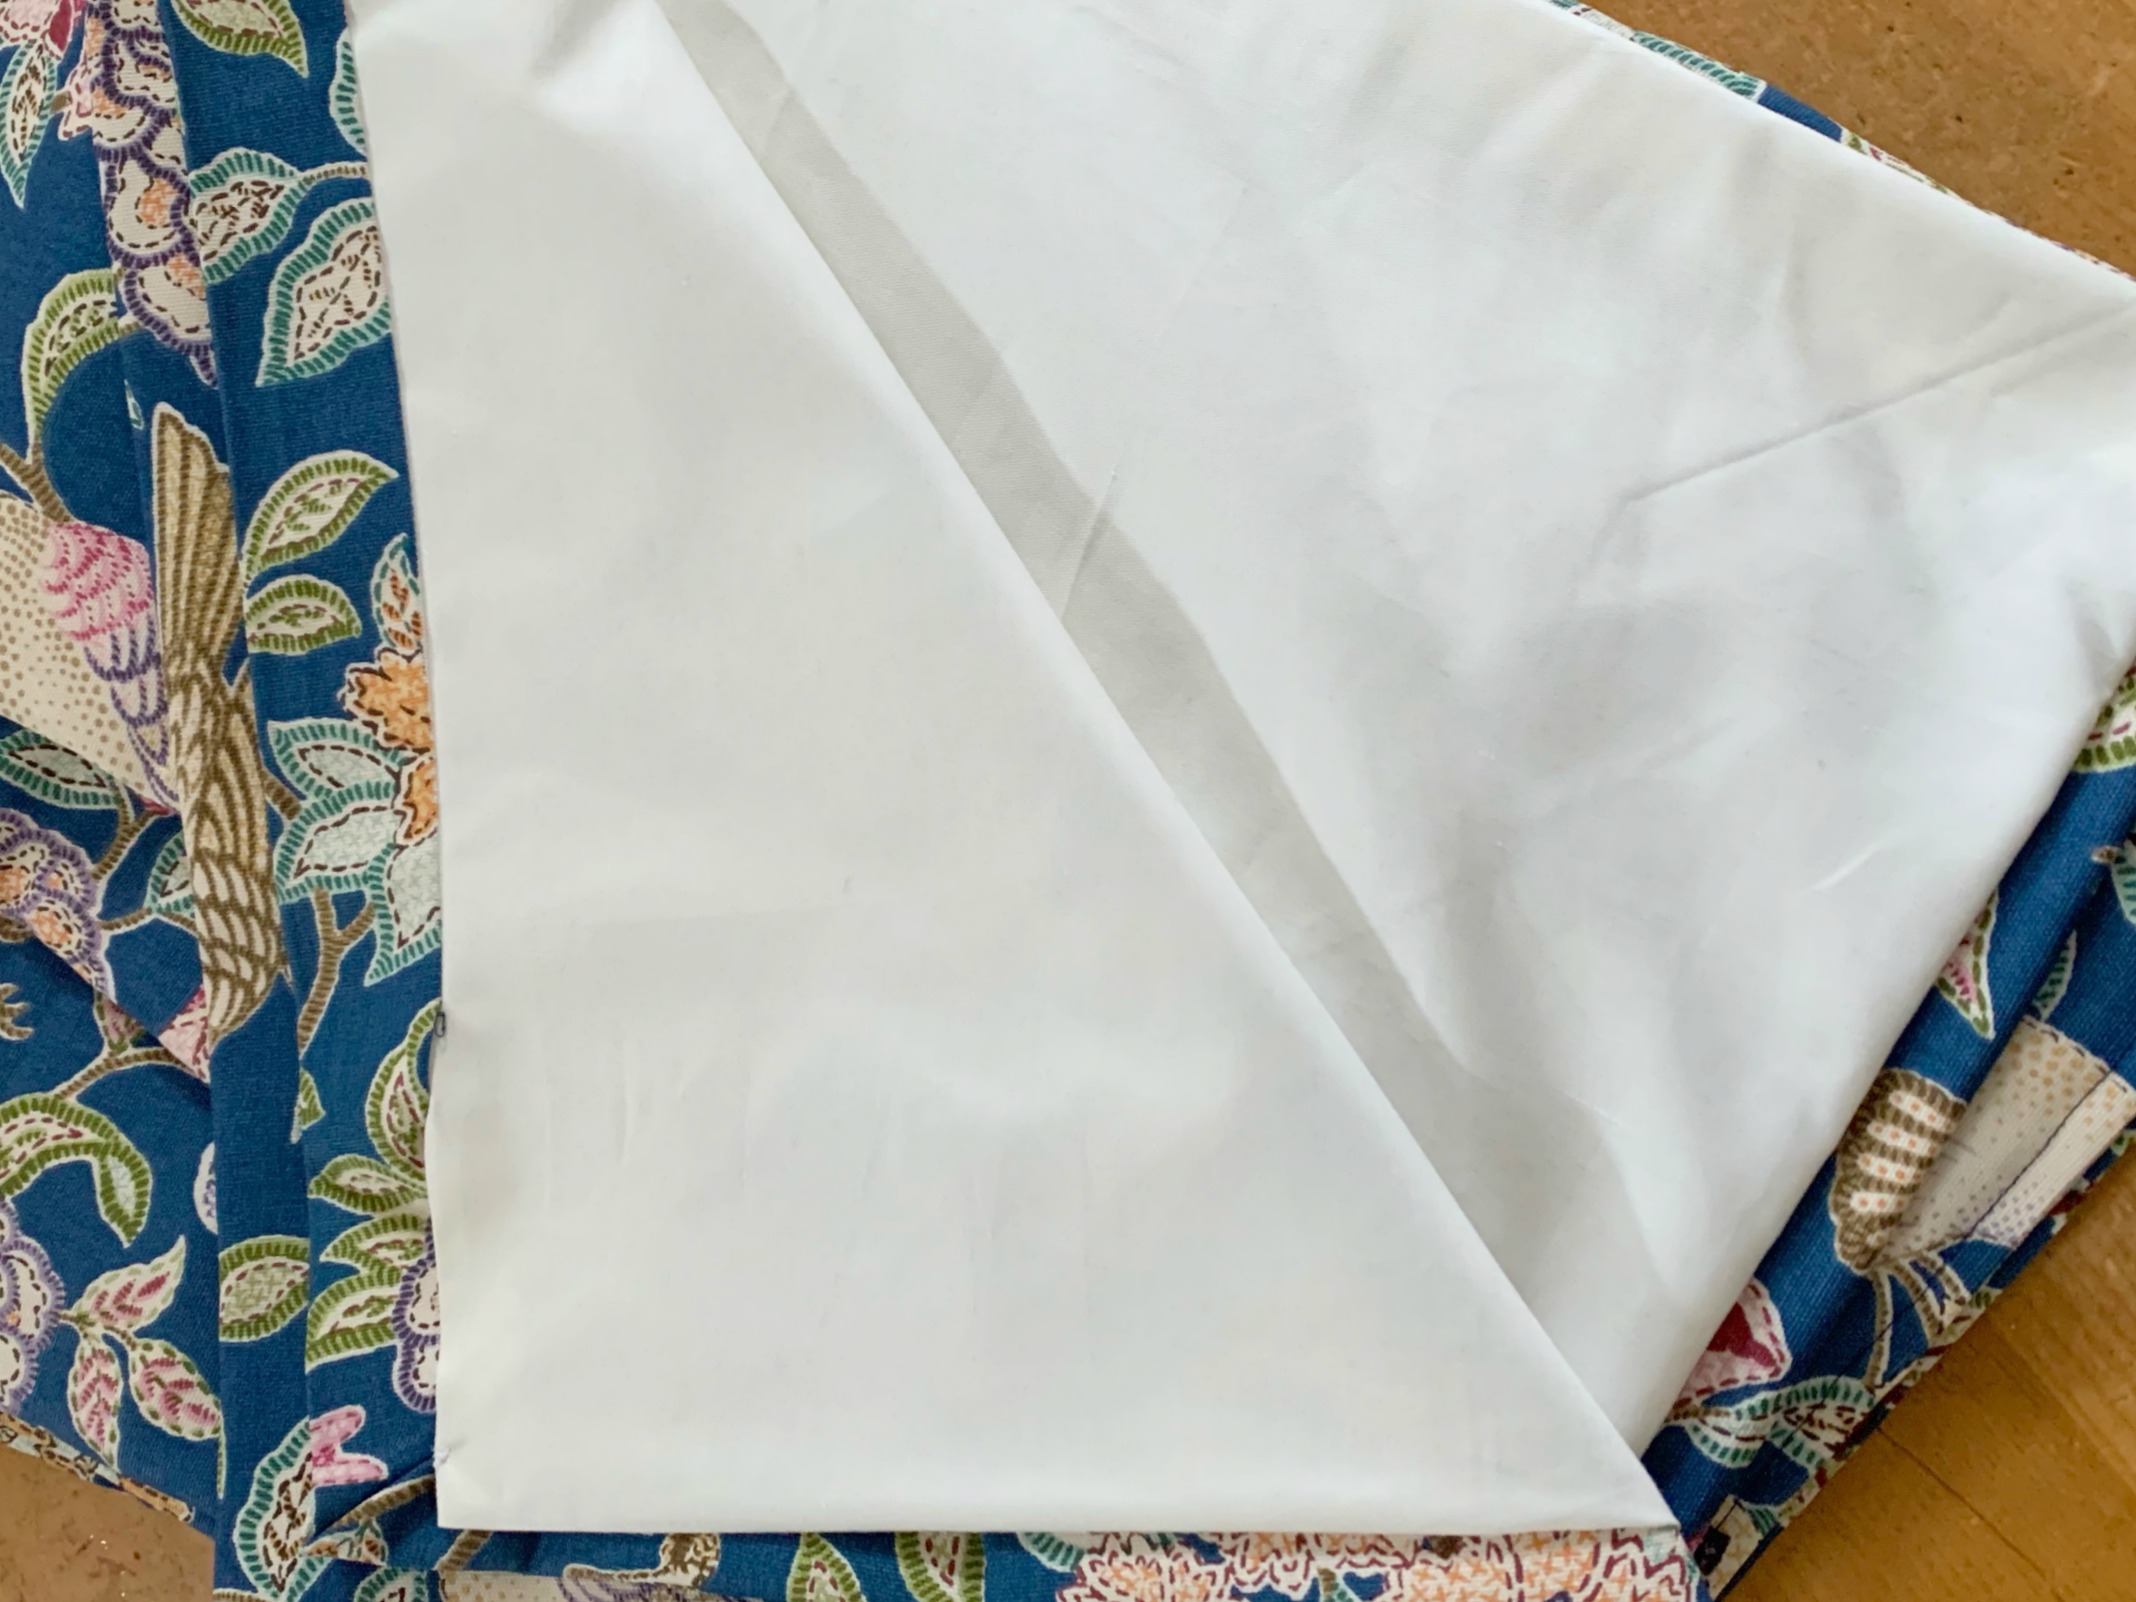
I replaced the curtain poles before hanging the curtains as the original ones were pine and I really wanted white ones to complement the curtains.

Have you made anything lately?



Love the beautiful material you choose. #MMBC
They look wonderful! You did a great job. The fabric looks quite William Morris-esque to me. #MMBC
Gorgeous fabric. You’ve made a great job of the curtains. I hope it keeps all the draughts out. We have double aspect rooms too, with odd shaped windows. I made all our curtains too. It’s been over 20 years and I’m about to start replacing them. #mmbc
Those curtains are gorgeous. I love the fabric you used. You make making curtains look easy! x